Faculty Panopto Recordings
Faculty Self-Recording Instructions
The following instructions will help instructors self-record a video in Panopto that will be stored in that course's Panopto Recordings tab in Canvas.Opening Panopto Capture in your Canvas Course
1. Navigate to the Canvas course page to which you would like to record. Select the Panopto Recordings tab in the left-hand navigation.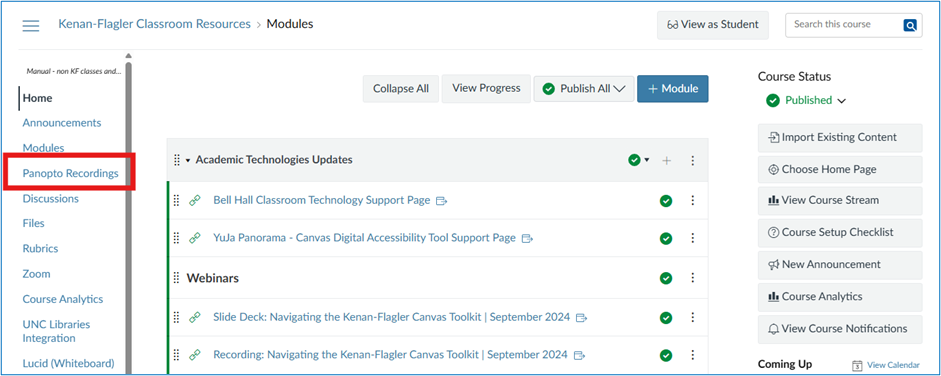
Note: If the Panopto Recordings tab is not enabled in the left-hand navigation, follow these instructions on managing course navigation links.
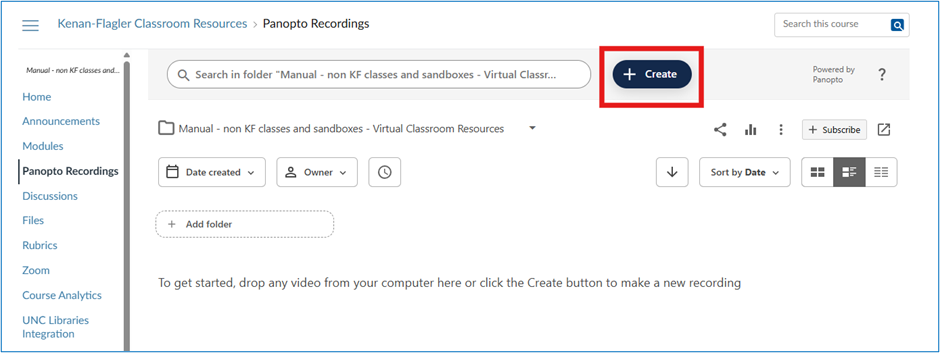
2. In the Panopto Recordings window within your Canvas course, select the +Create button.
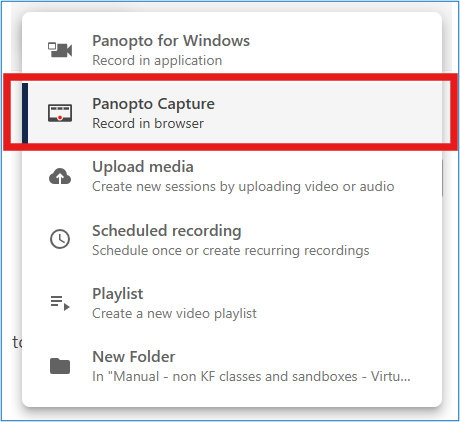
3. From the +Create menu, select Panopto Capture to record in your browser.
Select Video Settings
4. Panopto Capture launches in a new browser tab. You may be prompted by your browser to give Panopto access to your microphone and camera. You can select the desired microphone and camera from the top toolbar under Audio and Video.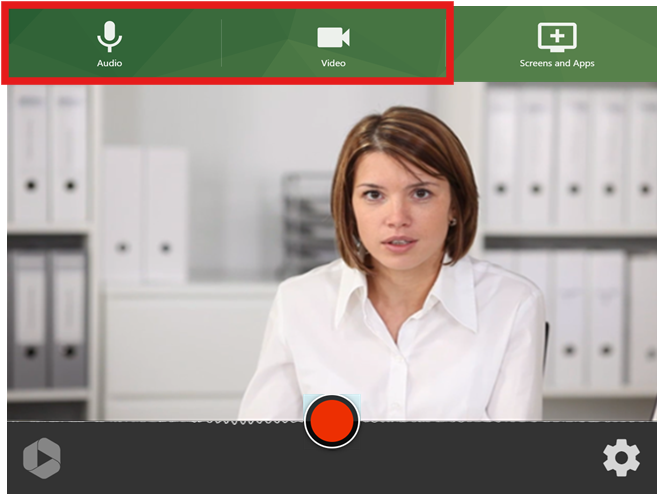
5. To record a screen, application window (like PowerPoint), or individual browser tab, select Screens and Apps from the top toolbar.

Note: For more in-depth instructions for different browsers and devices, follow Panopto’s instructions for selecting screen and application sources.
Note: If you experience issues sharing your screen on a Mac, follow these troubleshooting steps.
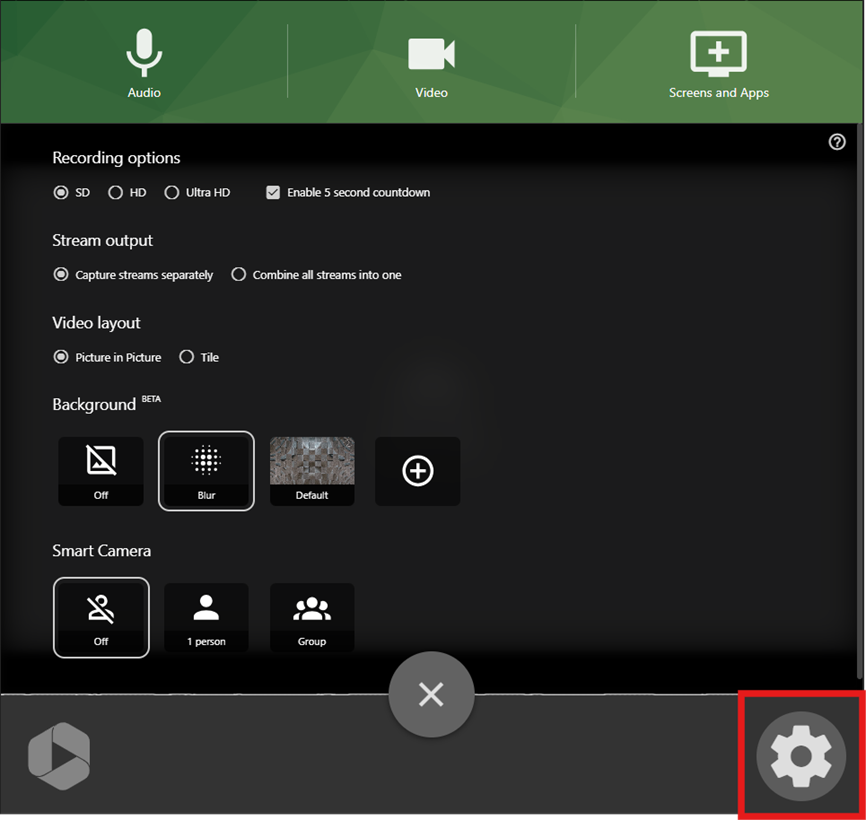
6. The Settings menu in the bottom right corner allows you to blur your background, turn the Smart Camera on or off, and enable a five-second countdown to start recording.
Recording the Video
7. To begin recording your video, click the red circle button at the bottom center of Panopto Capture. To stop recording, select the red square button at the bottom center of Panopto Capture. The video will immediately begin to upload. Do not close the Panopto Capture browser tab until the upload is complete.
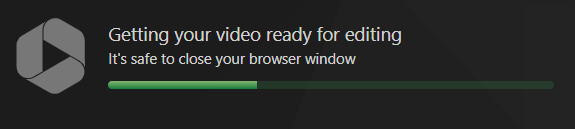
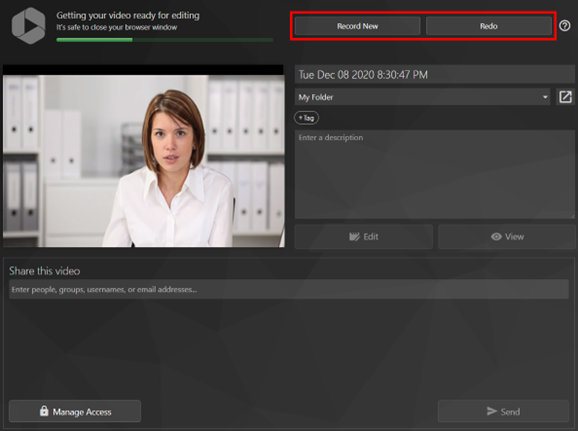
8. Once you stop the recording, a new page will load that shows the video’s progress. Do not close this page until you see the message Getting your video ready for editing: It's safe to close your browser window in the top left corner.
Previewing and Uploading the Video
9. You can preview your video by selecting the play button on the page.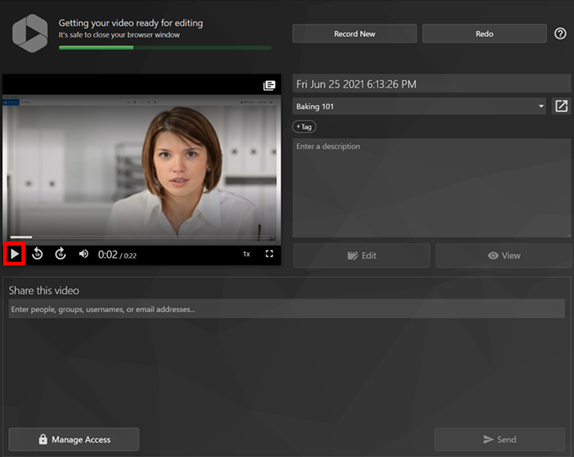
10. On the right side of the top toolbar, you can select Redo if you are not happy with the video you have produced and want to return to Panopto Capture to re-record or select Record New to film another video using Capture.
11. In the video details box, you can edit the video’s name, which automatically uses the date and time the video was recorded as a placeholder, enter the video’s description, and open the video in the Panopto editor by selecting Edit or view it in the Panopto viewer by selecting View.
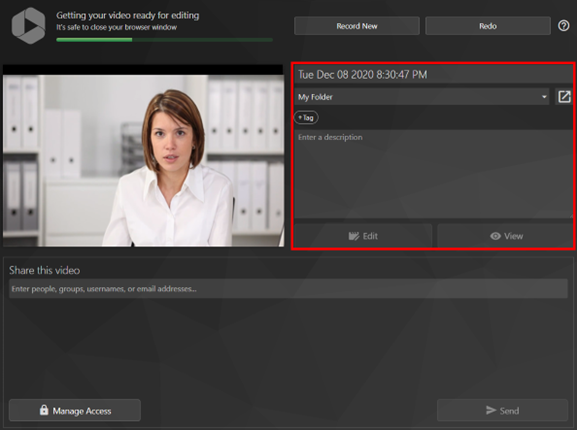
Note: Do not change the video’s folder location, as this defaults to the Canvas course folder you opened Panopto Capture in.
12. You do not need to Share this Video or Manage Access, as the viewer settings default to the students in the Canvas course you opened Panopto Capture in.
13. Once the video has been processed completely, it will state Your video is ready.
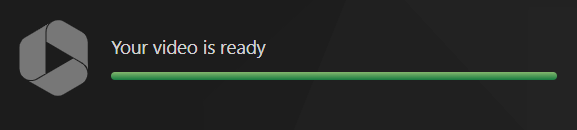
Note: This video will upload to the Canvas course folder that you were in when you opened Panopto Capture.
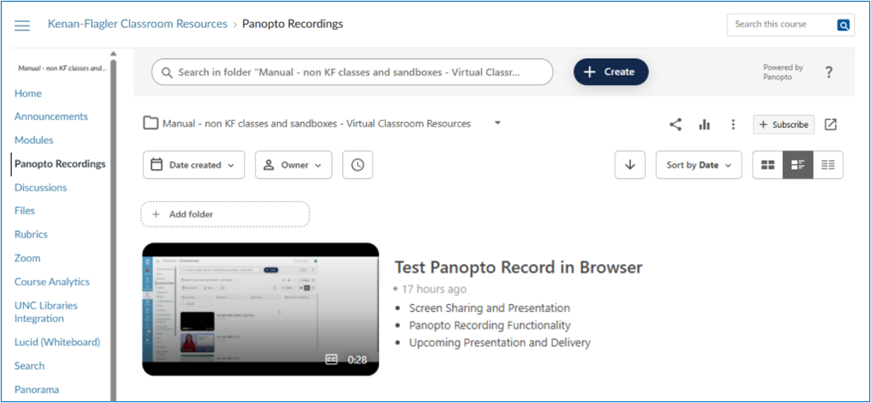
14. Your video will now be available for students to view in the Panopto Recordings tab in your Canvas course.